1. Raise forks to an easy accessible working height (approx. 4 to 6 feet).
2. Decide where you want to mount it to the forklift carriage – left, right, or center. (Center being the most common.) Note: Be sure to leave room to access the battery compartment that way the battery can be replaced without having to remove the unit.
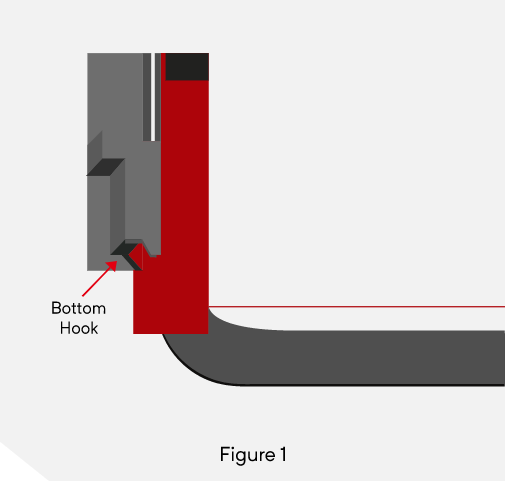
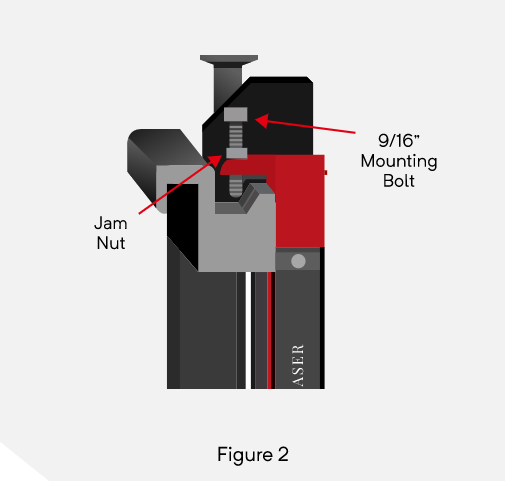
3. Hook the bottom of the Tine-Guide™ housing to bottom of the carriage and push the top up flush against the carriage. [See Figure 1 & 2]
4. Using a “9/16 socket wrench”, tighten the bolts securely down against the groove on the back side of the carriage lip. [See Figure 2] (Note: be sure the unit is plumb.)
5. Tighten jam nuts snugly against top of unit. [See Figure 2]
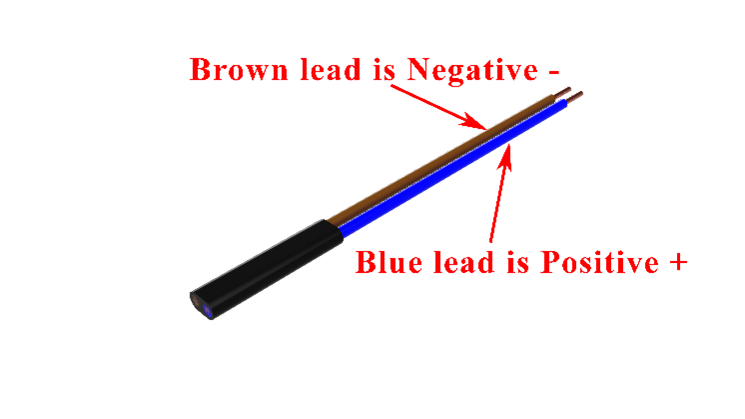
6. Using the pigtail wire (included with negative and positive labeled ends). Connect the positive and negative ends to the power source located on the forklift carriage..
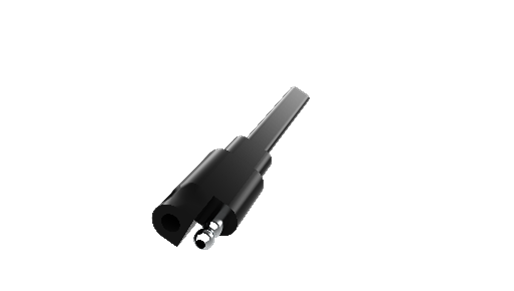
7. Once the pigtail has been properly connected to the power source, you can then plug unit to power source. If properly installed, unit should be on.
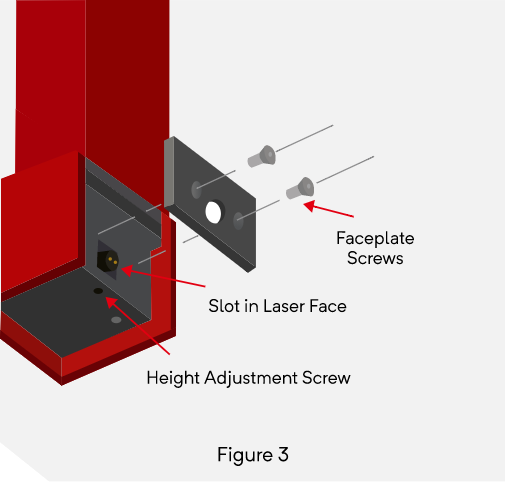
8. The laser may not be level internally. The laser head located on the bottom of the unit [See Figure 3] allows adjustments to be made to both the vertical height and horizontal level of the laser.
- Calibrating: Lay the Tine-Guide™ box across the end of the forks to visually see the location of the line
- Calibrating: Remove the faceplate using a 3/32″ Allen wrench. [See Figure 3]
- Calibrating: You can now see the laser lens housing (Brass). [See Figure 3] Insert a small thin flat-head screwdriver into the slot in the laser face being careful not to touch the laser’s lens. Now turn the laser left or right to level the laser line.
Note: (You should only have to move the laser a small amount. It may also be hard to turn, but be careful not to slip and damage the laser.)
- Height Adjustment: To adjust laser level, take the 5/64″ Allen wrench and turn the set screw on the bottom of the unit clockwise or counter clockwise until the laser is aligned with the tine tips. [See Figure 3] (Note: You can now adjust the laser level a little above, below or right on the tines, your choice.)
